You click photos and everyone else does too. Regardless of your age or profession, every now and then you’ll find yourself clicking pictures. Photos have become an inseparable part of our lives since the advent of the smartphone. That being said, smartphone photography can be a rewarding experience if done right.
Do you struggle to take better photos with your smartphone? Read on.
Majorly your images would fall in one of the below categories:
- Landscapes
- Portrait of others
- Self-portraits or Selfies
- Group Photos
- & Food photos, obviously!
No matter which category of photos you are shooting, you must have clarity of what you want your photo to look like.
In short, a vision.
So before you tap/press the shutter button, ask yourself these three questions:
What is the subject?
The first thing that should be clear is what is your subject. A subject can be an individual, a group, someone’s eyes, mountains, or a whole landscape etc. When you know the subject clearly, move ahead.

Also See:- 8 Reasons why you should travel solo?
What is the story?
Know the purpose before you shoot.
A picture can have a simple expression like showing the sunset on the beach or can have a complex story to tell.
Some photos tell compelling stories but that doesn’t have to be the case always.

No matter what your story is. Make it clear in your head.
Which elements are crucial to the story?
Composition, as we call it in photographic terms, is one of the most crucial factors to consider to make your photos expressive.
There are many guidelines for a good composition, which are beyond the scope of this article. So I will keep it simple here.
Also See:- Jakarta Diary
Do the below things to create better compositions:
- Look at the frame corner to corner and see elements which are not adding value to the photo/story, try eliminating or removing them
- Keep horizon straight, especially for landscape photos
- Look for the empty space in the frame, if it is too much and if it isn’t adding value or making the story interesting. Eliminate or crop it until the photo looks balanced.
- Learn and use the rule of thirds

The composition is to photos what is grammar to a language.
If you do not use grammar the correct way, your words stop making sense. Similar is the case with the photos.
Now, let’s move on to another important aspect.
Light
Light in photography takes a long time to master, however, there are few things you can do to ensure to be on the right path.
Shoot at the right times
All kind of photos looks great in the warm light of a few mins before and during sunrise and until an hour after that. And few hours before sunset and until sunset. These are the best times to shoot landscape, natural light portraits and other natural light images.

After sunset, the sky gets a bit purple/blue. Such a sky can be a great background for flashlight selfies or portraits.
An overcast sky creates good lighting for portraits. Mixing flash with such light can create dramatic results.
These are the best lighting conditions but do not be discouraged to shoot in other light situations. All kinds of light offer photographic opportunities.
Use Exposure Compensation tool
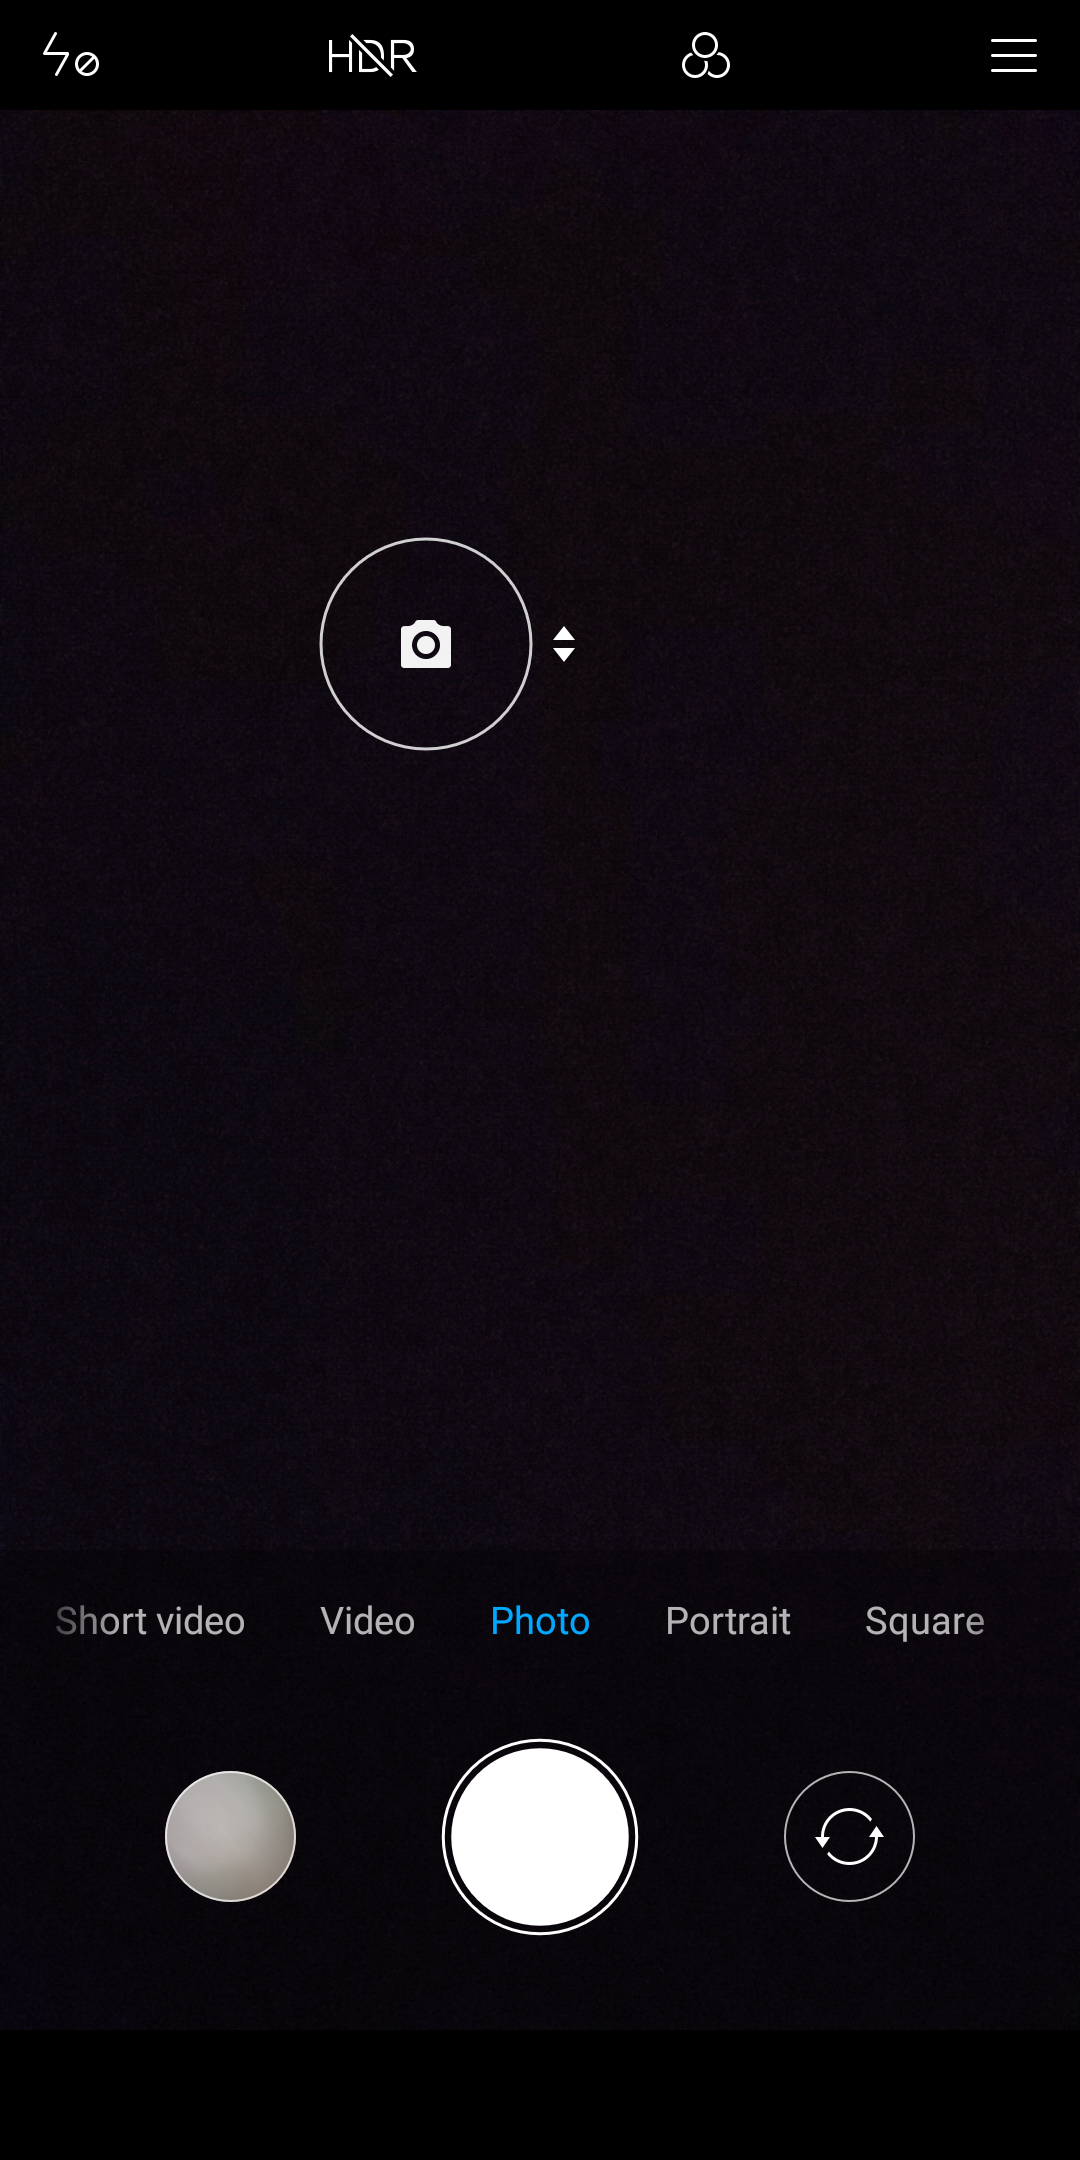
Most modern smartphones and point and shoot cameras have this feature. This feature allows you to brighten or darken your final photograph. Often it is an up/down arrow slider which comes after focusing on the subject in a smartphone. And point and shoot cameras have separate button marking +/-.

Setting it to a plus value can brighten your photo and set to a minus value will result in darker photos. It’s not necessary to use it every time.
You will often come across a situation when the sky is too bright and it becomes almost white(over-exposure) and all the bright details which you can see from your eyes are turned to white in the image. In such situations use this tool to darken the picture to bring back details in the bright areas by using minus value. For the very dark areas where details are lost and it’s turned almost black ( under-exposure), put a plus value to make it brighter.
Use flash or flash as a torch or an external flash
More often people, do not use flash until its very dark. During the daytime, flash seems useless to them. But the problem is the amount of light our eyes can see, a camera can never. That is the reason why situations like these occur, where its daytime and still the photos are dark or partially dark.
In situations like these, use flash unless it is your intention to keep the photo dark.
Another way of using flash is to use it as continuous light by turning on the torch. It helps a lot in situations like food photography in dim lit restaurants.
At times, the smartphone flash is not powerful enough to light the scene well. An external flash can help in such situations. These have multiple LEDs and are brighter. There are many cheap Chinese options available. Investing in one can save you a lot of shots.
These were some of the simple tips to improve your smartphone photography.
Follow these tips and let me know in comments if it helped.
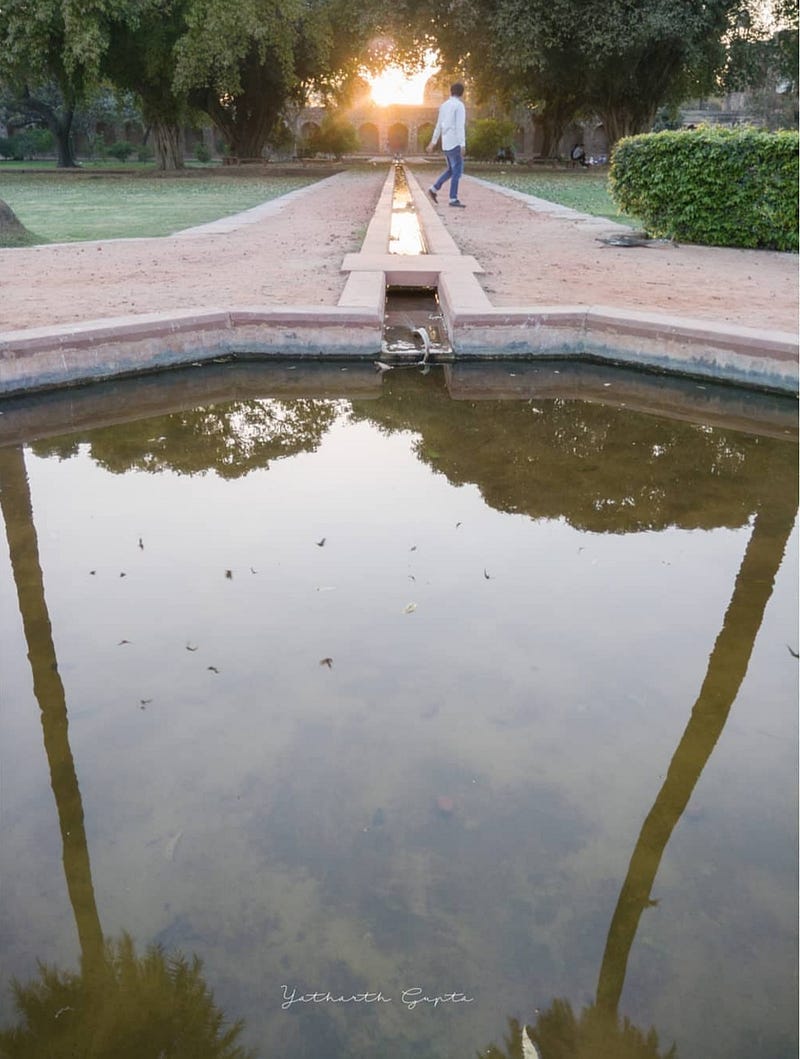
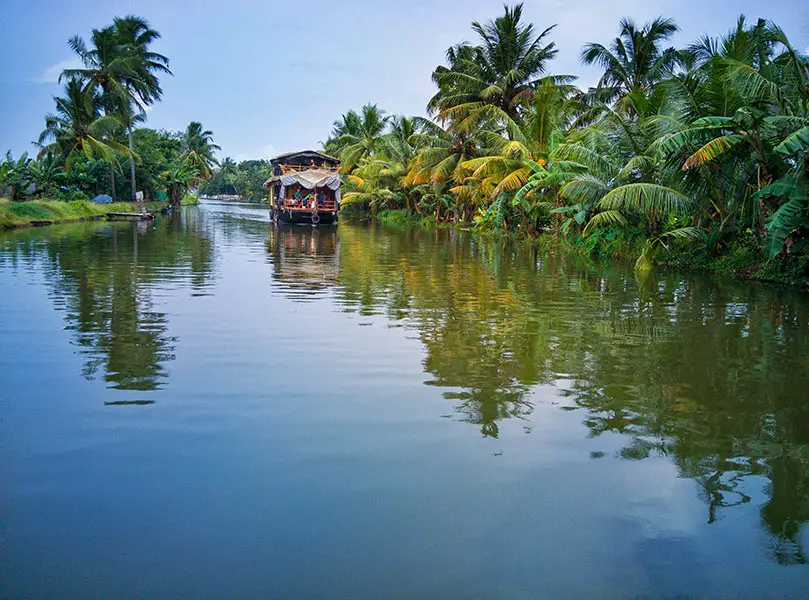
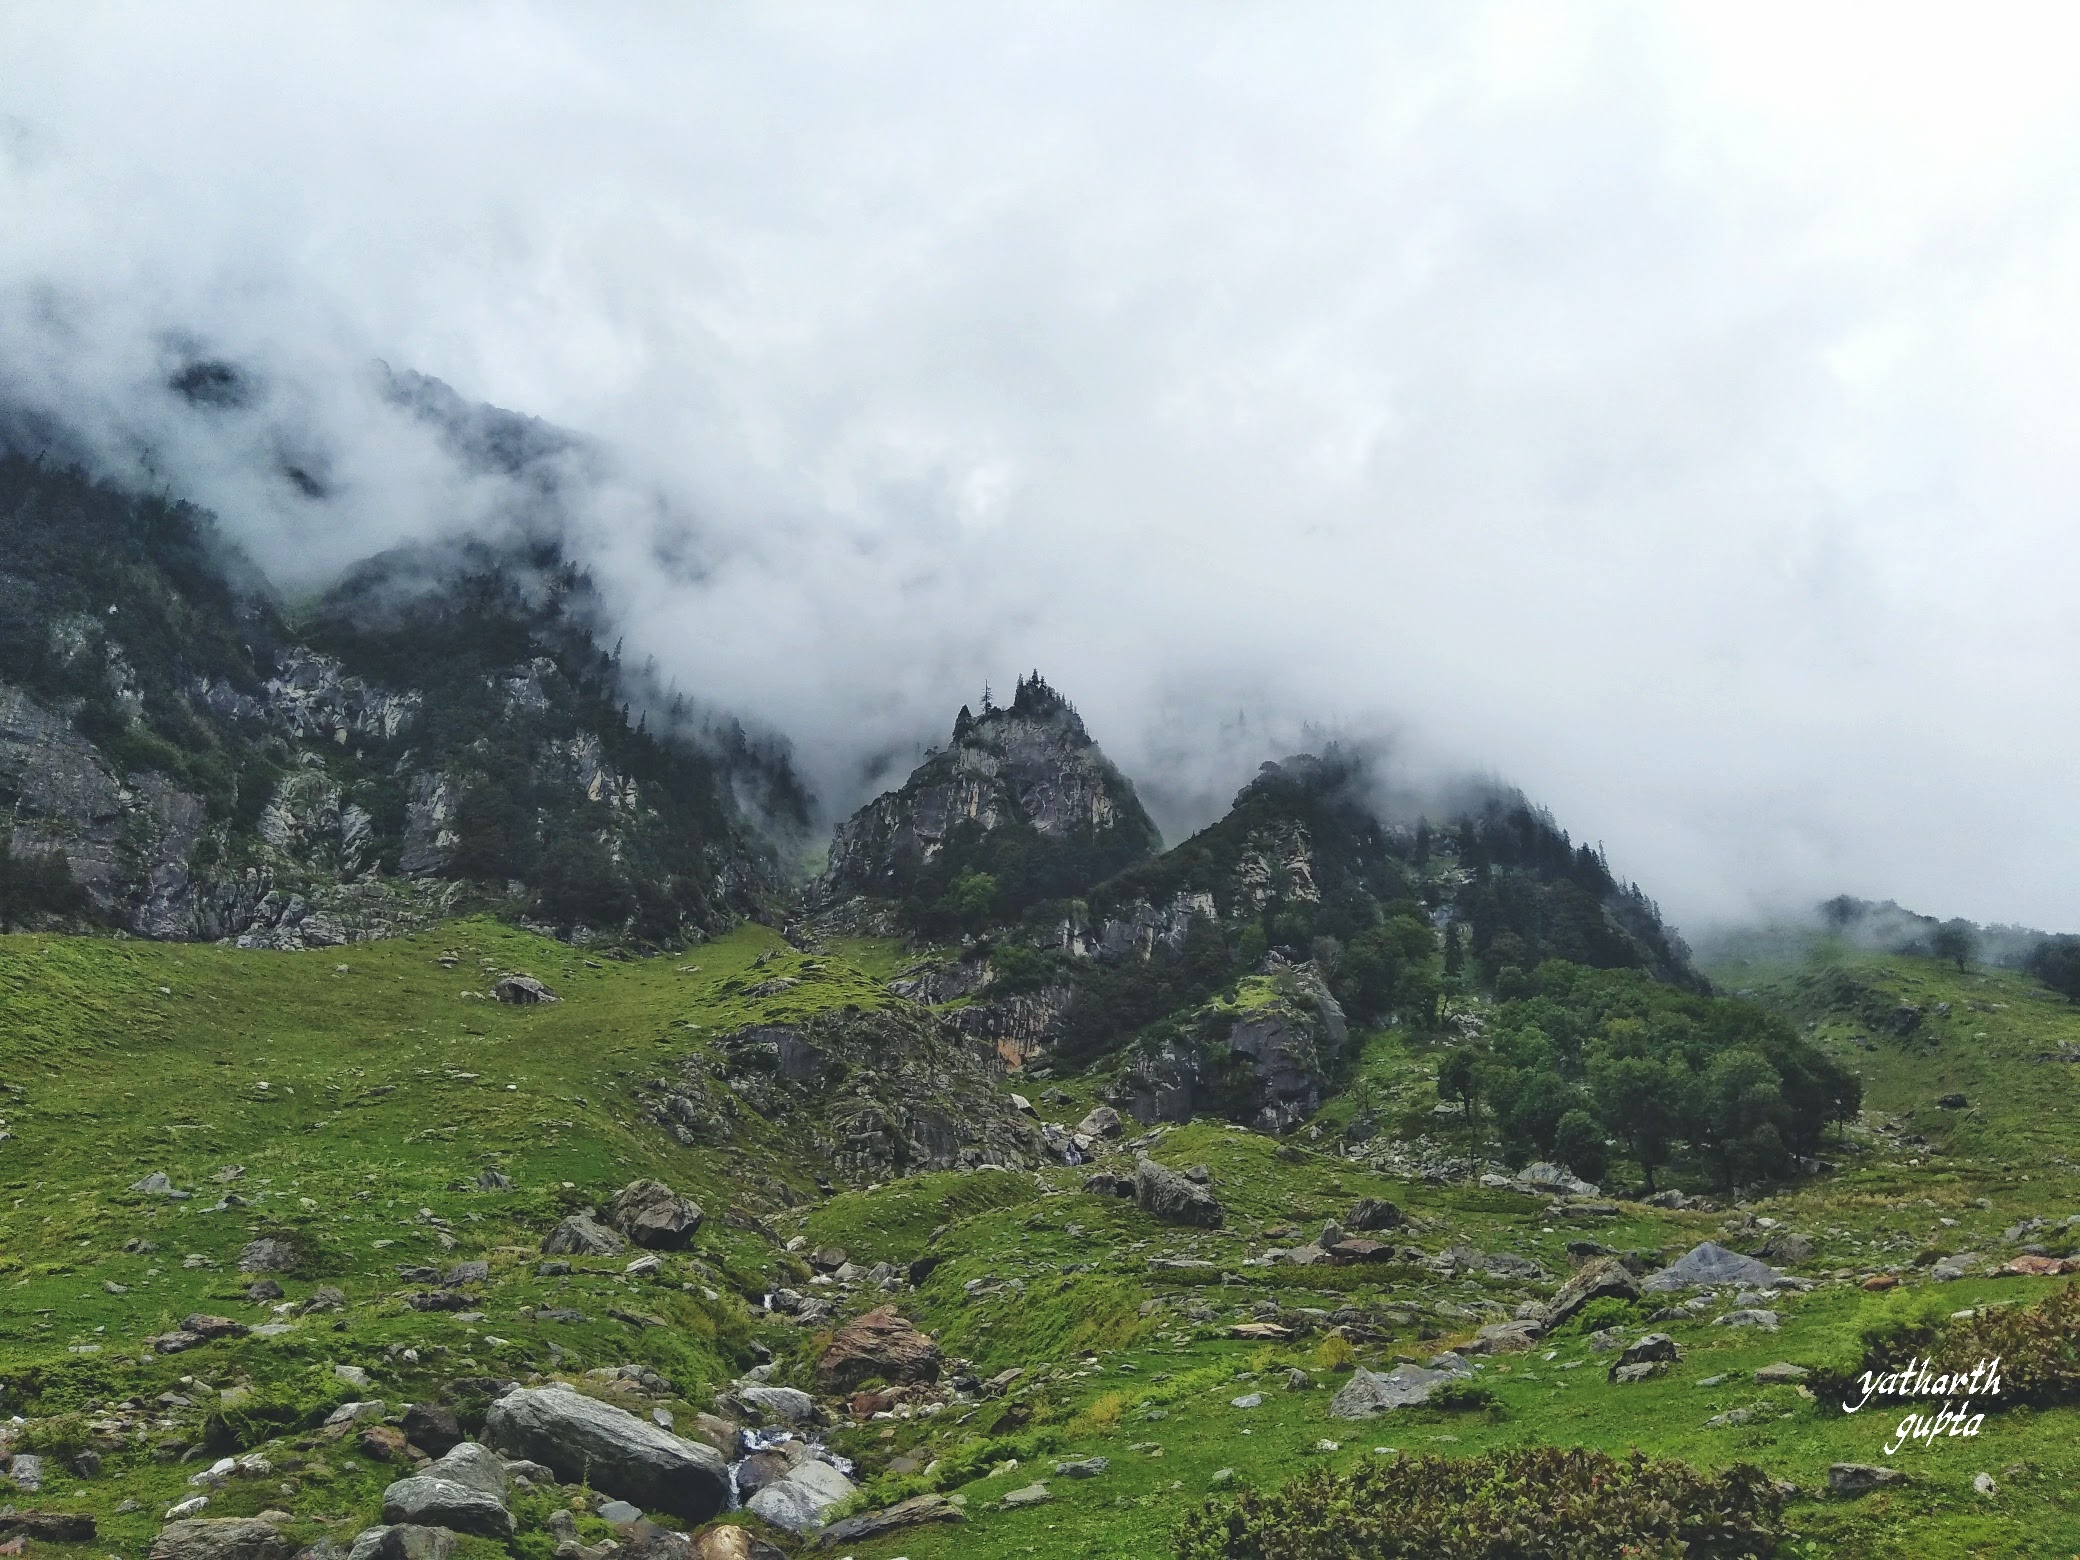
P.S. All images used in this article were taken with a smartphone.
Thanks for reading.
